

Last week I introduced a new series on the blog geared toward learning Lightroom. There are many bloggers out there sharing insights on how to take professional photos, but editing photos can be just as important as capturing photos. While I’m no expert at either of the above, I do know Adobe Creative Suite well, so I’m teaching you the ins and outs of Lightroom over the next several Thursdays! In case you missed it, you can view the last Lightroom post here.
This week I’m giving you a look into the Lightroom workspace. While this may not be as exciting as learning how to develop and edit your images, knowing the workspace well allows you to optimize your workflow and work efficiently in the software; it lays a foundation that we’ll build upon in the coming weeks.

The Workspace Layout
Lightroom automatically opens to the Library module when you start the program. While the workspace changes depending on which module you’re in, I’m primarily focusing on the Library module as I introduce the workspace. We’ll cover the panels in the Develop module in the coming weeks!
Module Menu
Lightroom is made up of 7 modules, which are all accessible at the top of the workspace. The Library module organizes your images and allows you to manage and select photos. The Develop module is for editing photos, the Map module allows you to see where your photos were taken, and the other 4 modules - Book, Slideshow, Print, and Web - are for output.
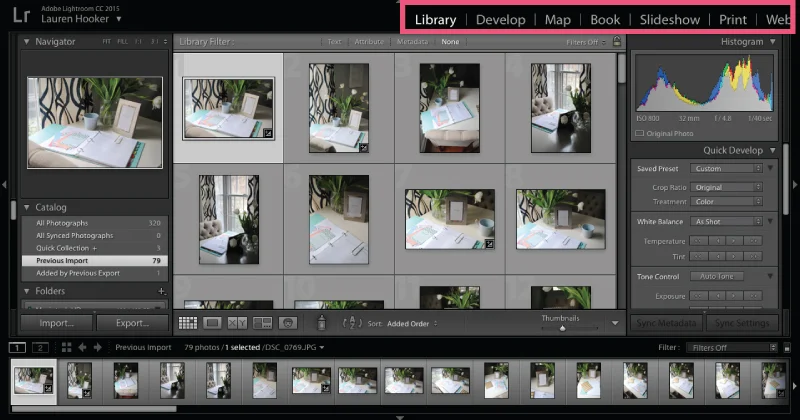
To switch between the modules, you can simply click on the individual module or you can use keyboard shortcuts. The shortcut for the Develop module is “d” and the shortcut for the Library module in grid view is “g.”
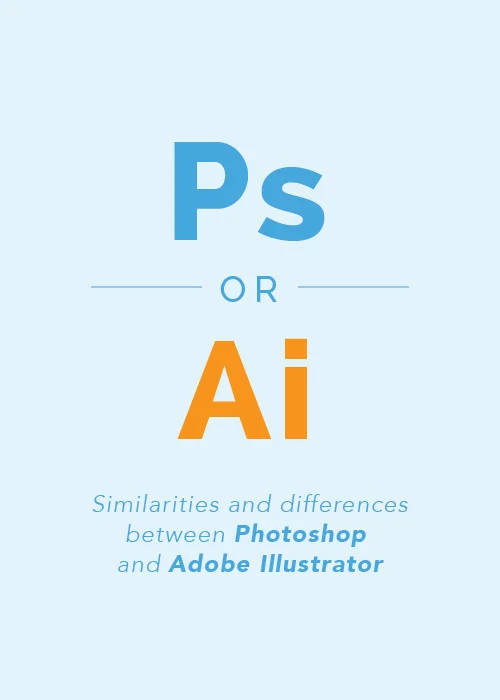
Did you know? Studies show that you can save 1 out of every 8 hours within programs like Lightroom and Illustrator by using shortcuts. It’s helpful to learn them and implement them as you learn these platforms. Shortcuts quickly become second-nature, and they’ll allow you to create a much more efficient workflow.
Depending on how you use Lightroom, you may not use all of the modules on a regular basis. To cut down on clutter and simplify your workspace, you can choose which modules appear in the menu by right-clicking on it and deselecting the modules that you would like to hide.

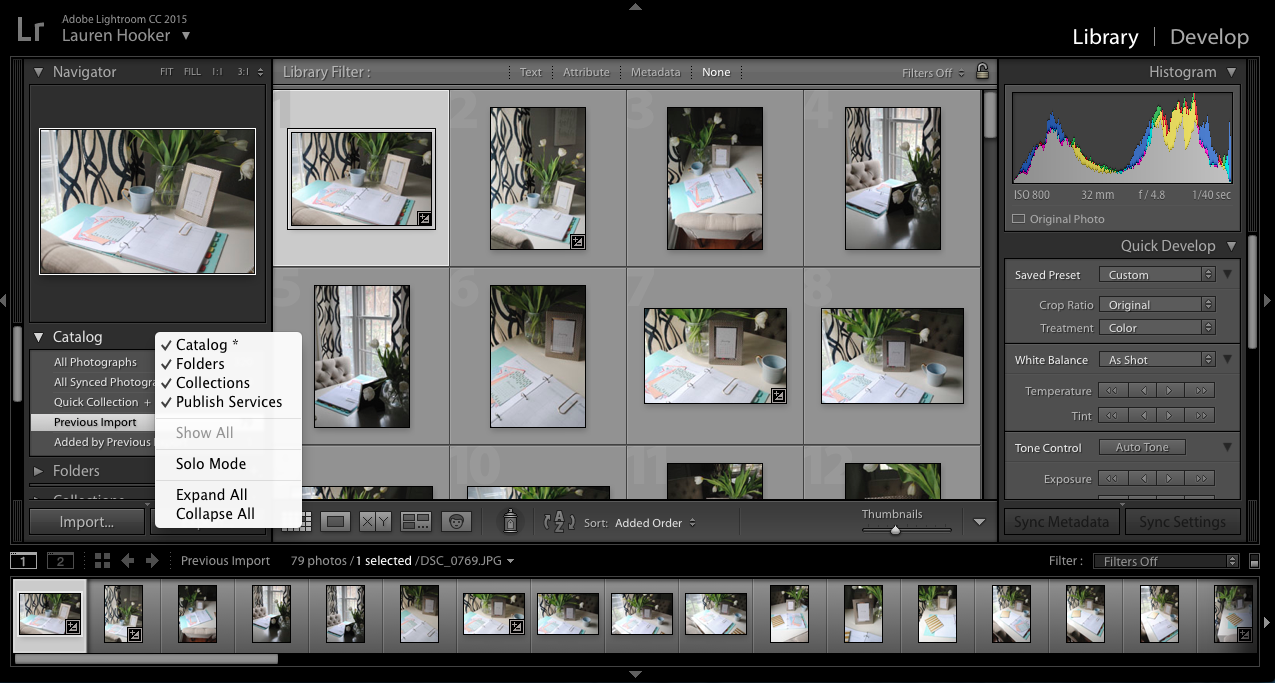
Left Panel
In the Library module, the left panel displays folders and photo collections. These folders mimic the folders on your hard drive, but only those that contain photos. Thumbnail previews appear in the center of the workspace depending upon which folder or collection you have selected.
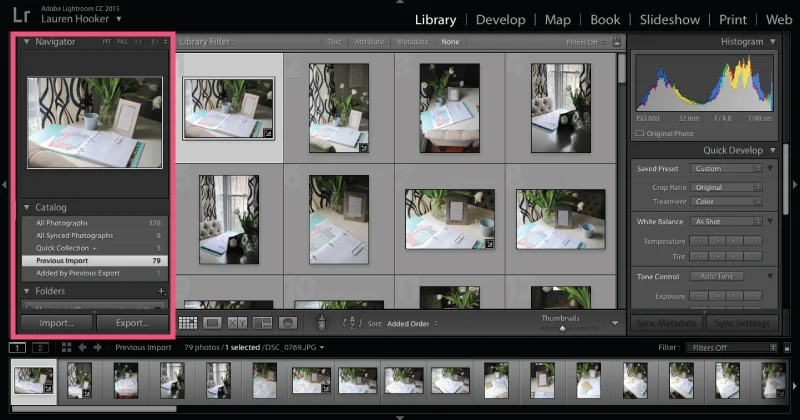
You can expand each folder by clicking on the arrow to the left of each folder name. Because the panel can get a little long and confusing when several folders are expanded at once, Lightroom gives you the option to only display one expanded folder at a time. Simply right-click by Catalog and choose Solo Mode. Like the top Module Menu, you’re also able to pick and choose which collections appear by right-clicking again and deselecting the collections that you would like to hide.
Right Panel
The right panel of the Library module displays information about the image (like which camera settings were used when the image was taken), allows you to quickly develop an image with saved presets, and helps you manage keywords and metadata.
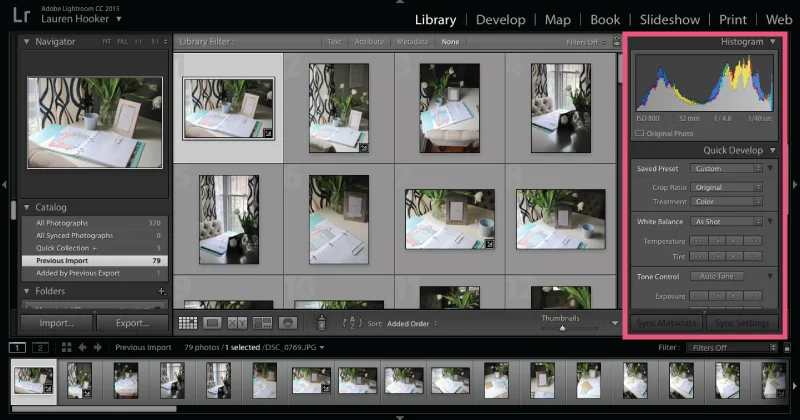
Like the Module menu and Left Panel, you can choose which windows you would like to appear in this panel by right-clicking on a main window within the panel and deselecting ones that you would like to hide.
Film Strip
The film strip at the bottom of the screen shares thumbnails of the photos within each collection or folder. It isn’t quite as helpful in the Library module as it is in the Develop module, but we'll get to that in the coming weeks.
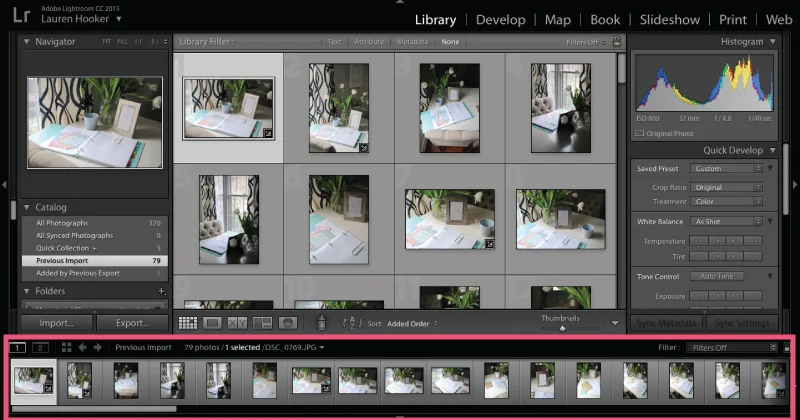
Toolbar
The Toolbar is located above the Film Strip, and it displays various icons and menus that you’ll use as you’re working with photos within the Library module. The thumbnail slider on the right side of the Toolbar allows you to make the thumbnails larger and smaller. You can also control what shows up in this section by clicking the arrow icon on the right of the Toolbar and enabling or disabling some of the options.

To toggle the Toolbar on or off, you can choose View > Hide Toolbar or press the T key on your keyboard.
Optimizing Your Workspace
Because Lightroom is all about your photos, it can be a little distracting to have every toolbar, menu, and panel open within the program at once. Thankfully, Lightroom helps you cut back on clutter and optimize your workspace to create a better workflow.
Hiding and Showing Menus
The Menu Module, Right and Left Panels, and the Film Strip each include a white arrow on the outer edge of their window which allows you to minimize them. You also have the ability to right-click on each arrow to change the settings of the window.
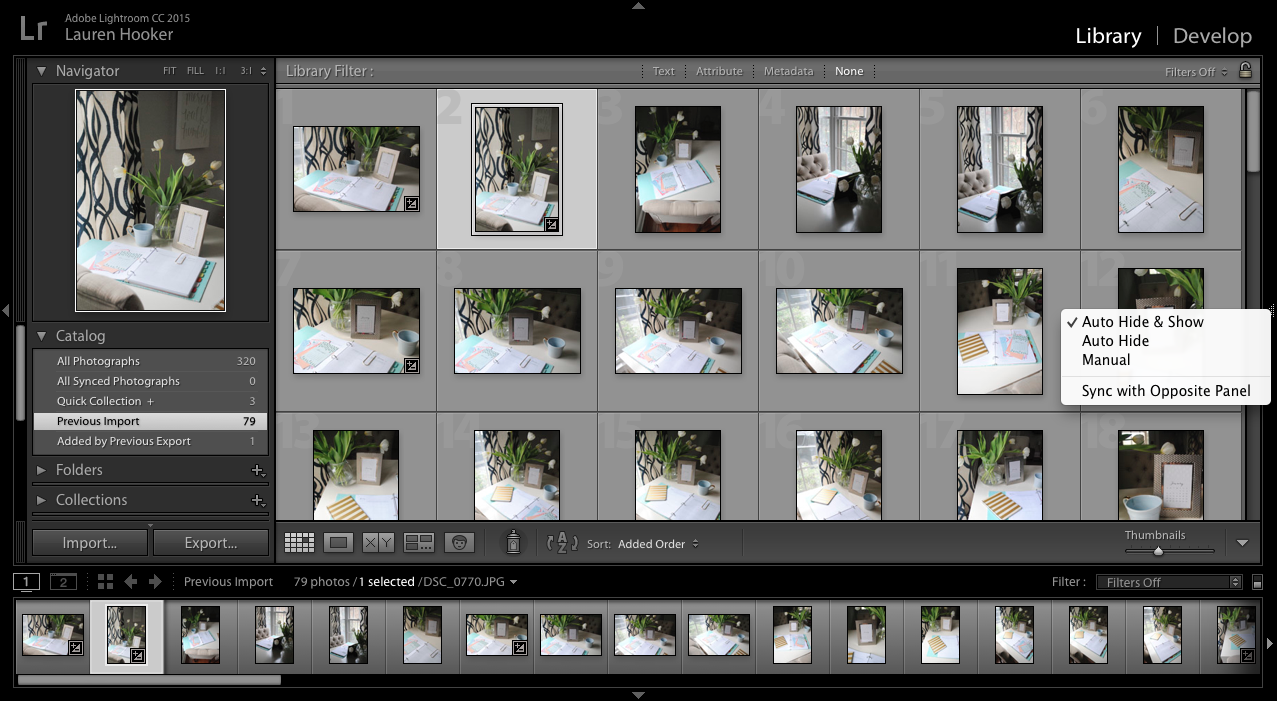
Auto Hide & Show is the automatic setting for the menus and panels. If you minimize each of panel, you’ll notice that they’ll reappear if you hover over them with your mouse. Auto Hide will hide the panel as you move your mouse away from it. Manual turns off the automatic show and hide behavior, allowing you to choose when you would like a menu to be opened or closed by clicking on the white arrows. And Sync With Opposite Panel applies the same show and hide panel behavior to the left and right panels or the top and bottom panels.
You can also click and drag to adjust the width of the left and right panels, as well as the film strip.
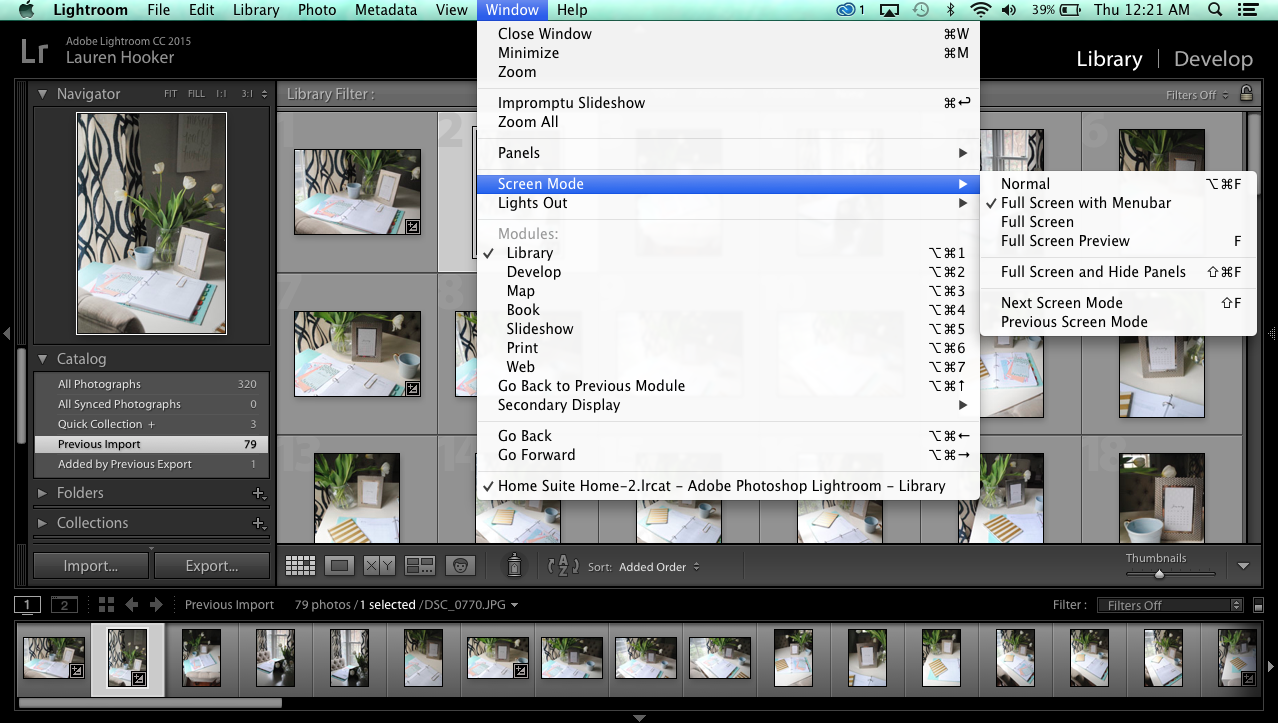
Screen Modes
Lightroom has a few different screen modes that allow you to hide panels and menus, as well. You can press the F key to cycle through these modes, or you can go to the top menu and select Window > Screen Mode to view all of the options.
By taking time to learn the these options you'll be able to customize the workspace to suit your needs and in turn, optimize your experience so that you can work quickly and efficiently in Lightroom. Tune in next Thursday for the next installment in this new series!


Elle & Company Business Book Club
Speaking of Elle & Company series, we're starting up our book club next month! Thanks to all of your great feedback, we've decided to go with Purple Cow by Seth Godin. We'll be reviewing the book on Thursday, May 28th both on the blog and in the weekly #ellechat, so you have plenty of time to join in. Stay tuned!
