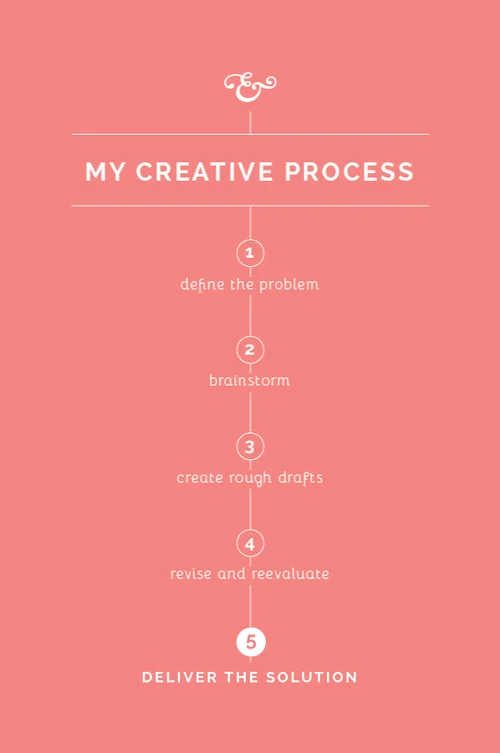
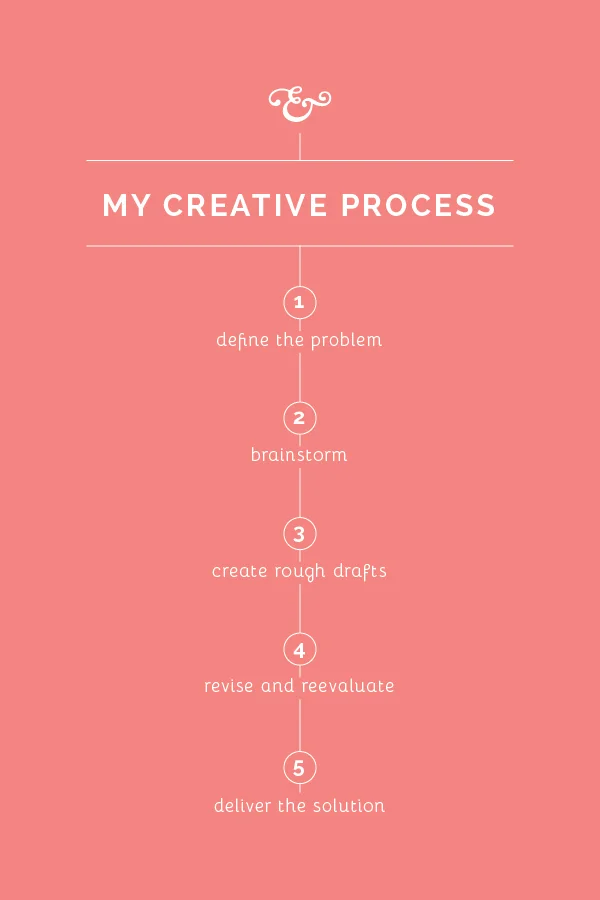
Graphic design isn't only about creating pretty things, although that's definitely one of my goals as a designer; it's about problem solving to visually communicate an idea. For the past month I've been going through my creative process step-by-step, sharing about what visual problem solving looks like behind the scenes.
Back to the Drawing Board (Step 4 of my Creative Process)
Like most occupations, it's helpful to have a process in place as I go about my work. I haven't seen many creatives approach this subject, so I thought it might be helpful to spend the next few weeks sharing my own creative process. While my method may not work for everyone, my hope is that these posts will encourage you to streamline your own process and think through the steps you take as you go about your work.
In a perfect world, first drafts would be the only drafts and no revisions would have to be made. But that isn't usually the case in the design world. It isn't always the most fun step, but revising and reevaluating allows me to refine my work, challenges me to become intentional in making design decisions, and results in an even better solution for my client. Here's a look at how Step 4 plays out for me in my creative process.
Self-edit
Before I reveal any work to my clients, I spend some time making revisions to my rough drafts. It's important for me to take a step back and evaluate so that I'm giving my clients the best representation of my work right out of the gate. I check for errors in spacing and composition, I double check colors in my Pantone book, search for any typos, etc. If this step is overlooked and mistakes are seen in the client meeting, it can make you look careless and unprofessional. Self-editing is a strong trait of any good designer.
Separate yourself from the project
In college, I dreaded critiques with a passion. I would walk into the studio after having spent countless hours working on a project, pin my design on the board, and shrink in my chair when my professor and classmates critiqued it to pieces. I can probably attribute my misery to my people-pleasing and perfectionist tendencies, but I think that every person struggles somewhat with taking criticism.
It's easy to get wrapped up in your work and become attached to what you create, especially when you've spent time and energy coming up with a great solution. But I've learned that in order to give your client your best work, you have to emotionally detach yourself and receive feedback and criticism with grace. As much as I hate to admit it, taking the feedback to heart from those class critiques in college always made my work stronger and challenged me to think through my design decisions.
Clearly communicate with your client
I wrote on this subject a couple weeks ago in Step 1, but it's important throughout the entirety of each project. When I reveal drafts to my clients, I walk them through my thought process and explain why I made each design decision. I've learned that educating my clients is a large part of communicating well.
Then it's my turn to listen and receive feedback. I take it to heart and ask a lot of questions along the way for clarification, just to make sure we're on the same page.
Go back to the drawing board
Once I've met with the client and discussed what they like and don't care for about my first drafts, I go back to the drawing board. I make small edits, change one typeface for another, explore other options - whatever needs to be done to meet the needs of my client while staying true to the elements of good design.
More posts in this series
The Most Difficult and Time-Consuming Step in My Creative Process
Like most occupations, it's helpful to have a process in place as I go about my work. I haven't seen many creatives approach this subject, so I thought it might be helpful to spend the next few weeks sharing my own creative process. While my method may not work for everyone, my hope is that these posts will encourage you to streamline your own process and think through the steps you take as you go about your work.
The biggest fear of any perfectionist/designer is being unable to come up with a great solution that a client will love, which is why this step of my process always makes me a little nervous. Creating rough drafts is the most difficult and time-consuming part of my creative process, and the final design hinges on what I come up with during this step. That's why I spend so much time in steps 1 and 2, compiling information and preparing for this step in particular. So why does it take so long and how do I go about creating rough drafts? Here's a peak into what this step looks like for me.
Set aside uninterrupted time. In the 4+ years that I've been designing for clients, I've learned that I can't sit down for 30 minutes and crank out 3 concepts. I've also learned that I don't work well when I divide my time and create rough drafts for the same project on different days. I have to have at least a 2 hour window of time to dig in and get lost in Adobe Illustrator, and for most of my projects, I set aside an entire workday to create my initial concepts.
Set the mood. It may sound a little ridiculous, but creativity doesn't come easily to me everywhere. I work best sitting at Starbucks with coffee shop tunes playing in the background and a vanilla latte at the ready (or, if I have to, I recreate that atmosphere at my kitchen table with Spotify and my coffee maker). For some reason that "mood" helps me concentrate and inspires creativity.
Refer back to steps 1 and 2. There's a reason behind each design decision I make when I'm creating rough drafts, which is why this step is the most difficult for me. I keep all of my client meeting notes and my inspiration board on hand so that I can refer back to them as I design. I'm careful not to choose a typeface or add an illustration without making sure that it's in line with the scope of the project.
Self-edit. Before I show any concepts to my clients, I revisit and revise the designs I've created. I try to give myself a day or two away from those rough drafts before I make revisions so that I can see them with a fresh perspective (because after you've been looking at them on your artboard for hours on end, it all begins to run together). I check for oddities in spacing and composition, I clean up illustrations and fonts, and I double-check colors in my Pantone book.
That's step 3 in a nutshell! What does this step look like for you? Do you have to set the right "mood" in order to be the most productive?
More posts in this series
Step Two of My Creative Process
Like most occupations, it's helpful to have a process in place as I go about my work. I haven't seen many creatives approach this subject, so I thought it might be helpful to spend the next few weeks sharing my own creative process. While my method may not work for everyone, my hope is that these posts will encourage you to streamline your own process and think through the steps you take as you go about your work.
It wasn't until Jake came on board this past summer that I began to understand the importance (and fun!) of brainstorming to come up with new ideas and content. One night in May, the two of us stayed up for 3 hours coming up with solutions to some of the problems I was having with Elle & Company, and from that point on I've made it a priority to set aside time to research and brainstorm for each one of my design projects. This casual step gives me time to explore, compile information, and get creative, and it's become fundamental for my business and my process. Here's a look into what this step looks like for me:
Research. After I've talked to my client about their design needs (defined the problem), I start looking for more information about their industry. I can't clearly communicate a business's mission through design if I'm not familiar with their field, so I do some research. This includes looking at my client's current website and social media accounts, viewing the websites and social media accounts of others in their field, reaching out to the client with specific questions, and reading instructional blog posts and articles related to the industry. These first steps lay the foundation for my project and each step builds upon them, so even though I may only spend an hour or two researching, I can't skip it!
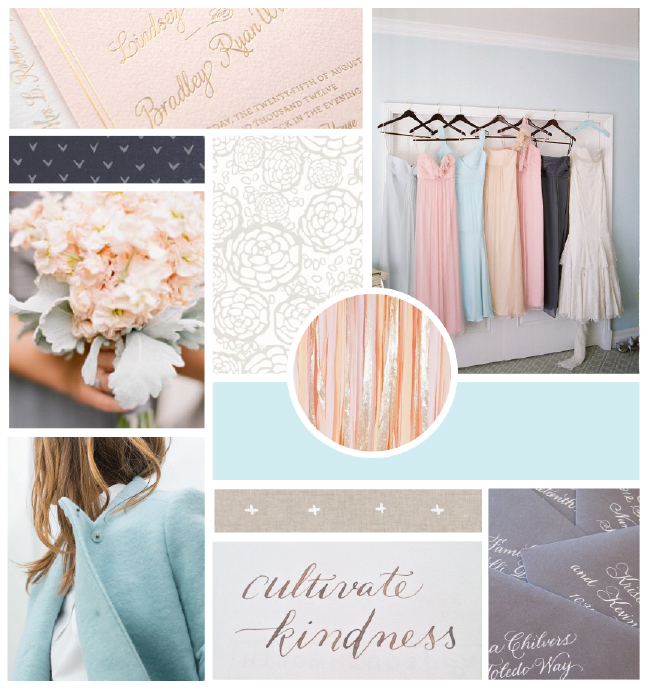
Create an inspiration board. This could probably fall under the "research" category, but we're just going to roll with it. Because I'm a visual person, I ask each client to pull together images in a Pinterest board that encompass the mission and look of their business. I have them write a sentence or two describing what they like about each image - colors, patterns, textures, typefaces, illustrations, "feeling", etc. - and I use those images to pull together an inspiration board. I keep that inspiration board with me as I make design decisions and develop the entire brand. Here are a look at some recent inspiration boards that I've worked on recently :
Brainstorm. Now that I've spoken with the client, discussed their design needs, and compiled some research, I'm ready to shut down my computer and hide away with a full coffee mug, a print-out of the inspiration board, and an empty sketch book. I write down and sketch out ideas for a couple hours before I ever create a rough draft. This step is always the most difficult for me because I can't stand writing down ideas or sketching things if they aren't going to be 100% perfect, but the point isn't to come up with a perfect solution right off the bat; it's to get my creativity flowing. The more I do this step, the better and more original my work gets.
What could this step look like for you? Do you intentionally set aside time to come up with new ideas and solutions for your business/blog/job? What tips and tricks have you found helpful for creating original content?
Other posts in this series
A Look at My Creative Process
As I've been navigating this foreign world of entrepreneurship, I've realized how important it is to nail down my creative process. It may seem like creating a logo or illustrating an art print would be fairly straight-forward - sit down at the computer, draw for a little while, and you're done - but it's never quite that simple. Designers are problem solvers, and there are many steps that we take in order to come up with the right solutions.
Like most occupations, it's helpful to have a process in place as I go about my work. I haven't seen many creatives approach this subject, so I thought it might be helpful to spend the next few weeks sharing my own creative process. While this method may not work for everyone, my hope is that these posts will encourage you to streamline your own process and think through the steps you take as you go about your work.
Why it's important to have a process
Before I jump into the first step in my design routine next week, I thought it would be helpful to explain why defining your creative process is beneficial in the first place.
It provides structure. Defining your process helps streamline your work, set up a timeline, and create structure in your daily routine. It sets the stage for your workweek and gives you definite starting and ending points.
It helps you juggle. Two weeks ago I wrote a post on how to juggle multiple projects at once, and writing out your process was the first step on my list. When you've thought through each step in your routine and the amount of time each step will take, you have a better idea of how many projects to take on at once and how to space them out in your schedule.
It increases productivity. Outlining your projects and setting up a system allows you to get more done in less time. You're able to stay productive and on schedule because you have a step-by-step guide to follow.
It fosters creativity. Sometimes my creativity is at a low and ideas don't come quickly. When you have a process in place, you can account for those uninspired moments by adding steps for brainstorming, researching, and gathering inspiration. My creativity usually flows freely when my process is clear and defined.
It streamlines collaborations. Having a timeline and a step-by-step guide makes it easier to collaborate with clients and other business partners. It gives them insight on the time and effort that goes into your work and they know what to expect from you.
Now it's your turn! What does your creative process look like? I would love to hear the methods and routines you've found helpful for staying organized and productive during your workweek.

